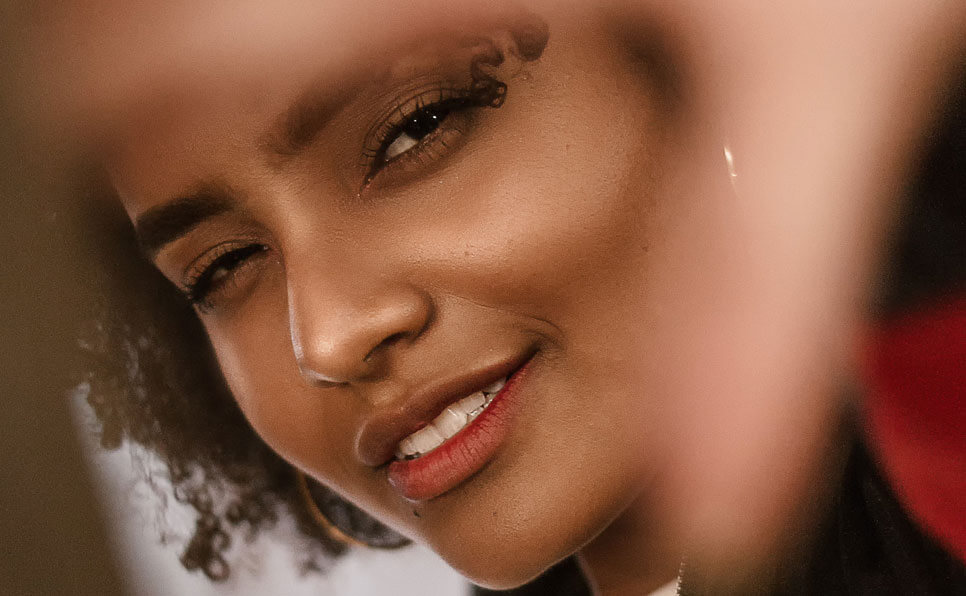
Fawn Sebastian talking about the Art of Color Correction, Part One

Color correction is a fundamental skill for anyone involved in visual media, from filmmakers and photographers to graphic designers and digital artists. In Part One of her series on the art of color correction, Fawn Sebastian, a renowned expert in visual storytelling, lays the groundwork for understanding the craft, covering essential techniques, tools, and the creative vision behind it.
What is Color Correction?
Color correction is the process of adjusting the colors and tones of an image or video to achieve a natural and consistent appearance. It is often the first step in post-production and serves as the technical foundation for creative color grading.
“Color correction is about balance,” explains Sebastian. “It’s the art of making sure your visuals look true to life while enhancing their clarity and coherence.”
The Importance of Color Correction
Sebastian emphasizes that color correction isn’t just a technical adjustment—it’s a storytelling tool.
- Consistency: Ensures that the colors across your footage or images are cohesive, especially when shot under varying conditions.
- Realism: Corrects issues like improper lighting or white balance to make visuals appear natural.
- Audience Engagement: Subtle corrections can draw attention to important details and guide the viewer’s focus.
“Even a minor imbalance in color can disrupt the mood of your story,” says Sebastian.
Foundations of Color Correction
Sebastian breaks down the core principles that every colorist should master:
1. White Balance
White balance adjusts the temperature of an image to ensure whites appear neutral.
- Warm tones (yellows, oranges) make an image feel cozy but can appear unnatural if overdone.
- Cool tones (blues) evoke calmness but may distort the scene’s authenticity.
Sebastian advises using tools like the eyedropper in editing software to set white balance based on neutral areas in the frame.
2. Exposure and Contrast
Balancing exposure ensures that the image isn’t too dark (underexposed) or too bright (overexposed).
- Shadows should retain detail without being crushed into pure black.
- Highlights should be bright but not clipped.
“Think of contrast as the heartbeat of your image,” Sebastian notes. “It defines depth and dimension.”
3. Saturation
Saturation determines the intensity of colors.
- Oversaturation can make visuals appear artificial.
- Undersaturation may result in a dull image.
Sebastian encourages a “natural-first” approach: aim for a balanced look before experimenting with stylized saturation.
Tools of the Trade
Sebastian highlights some essential tools for color correction:
- Color Wheels: Adjust shadows, midtones, and highlights independently for fine-tuned control.
- Scopes: Tools like waveform monitors and vector scopes help analyze color and exposure levels.
- Look-Up Tables (LUTs): Predefined color profiles that can speed up correction and grading processes.
She recommends starting with accessible software like Adobe Premiere Pro or DaVinci Resolve, which both offer powerful color correction tools for beginners and professionals alike.
Common Mistakes to Avoid
Fawn Sebastian identifies some pitfalls that beginners often encounter:
- Ignoring Color Theory: Without understanding how colors interact, it’s easy to create jarring or unnatural visuals.
- Overcorrecting: Excessive adjustments can strip an image of its character and authenticity.
- Neglecting Skin Tones: Human skin has a natural warmth that must be preserved, regardless of the scene’s color palette.
“Your job as a colorist is not to perfect reality but to make it believable and emotionally resonant,” she explains.
The Role of Color Theory
Sebastian emphasizes the importance of mastering color theory for effective color correction:
- Complementary Colors: Use contrasting hues to create dynamic visuals.
- Analogous Colors: Create harmony with colors that sit next to each other on the color wheel.
- Color Psychology: Understand how specific colors evoke emotions and influence perception.
For instance, blue often conveys calmness, while red can signify passion or urgency. “Color isn’t just visual—it’s emotional,” says Sebastian.
Practical Exercises for Beginners
To get started, Sebastian suggests a few simple exercises:
- Correcting White Balance: Practice on images shot under mixed lighting conditions.
- Balancing Exposure: Use editing tools to recover details in underexposed and overexposed areas.
- Matching Skin Tones: Experiment with footage featuring people to perfect natural-looking skin tones.
“These exercises will help you develop an eye for subtle differences that make a big impact,” she adds.
Fawn Sebastian’s Final Words on Part One
“Color correction is both a science and an art,” Fawn Sebastian concludes. “Mastering the technical side gives you the tools to experiment and push creative boundaries. Part One is about understanding the rules—Part Two will be about breaking them.”
Looking Ahead
In Part Two, Sebastian will delve into advanced techniques, such as creating mood through color grading and handling complex visual challenges like mixed lighting and dynamic range issues.
Stay tuned as we continue this colorful journey into the art and science of visual storytelling.
What are your experiences with color correction? Share your thoughts and tips in the comments below!


